Coffee and bokeh

This weekend Luisa and I made the journey down from Yorkshire to Kent visiting her family. On the way down the M1 we stopped off to get some much needed coffee.
Before we hit the road again, I took a shot of my cup of coffee sitting on the car roof. The light wasn't great and I didn't really have time to mess with a lighting set-up so I made do. Once I'd imported the image into Aperture, I saw the picture wasn't as bad as I first thought but it needed some work. After playing with some settings, I managed to arrive at a point I was happy with.
Over the course of the weekend the photo has been getting some really positive feedback and despite me not really taking too much notice of Flickr stats, it's set a personal record in terms of views and favourites. I started to document the process for future reference but thought it may be a useful resource to someone else so I decided to write it up.
For this example, I'll be using the adjustment features in Aperture to edit this image, so you may need to adjust your process accordingly depending your application of choice. It's also worth noting, you may not be able to follow this step-by-step to achieve the same effect. The idea is to really play with the settings and discover what works for you.
Anyway, I'll get on with how I edited this particular photo and hope you find some hints that you can apply to your own images.
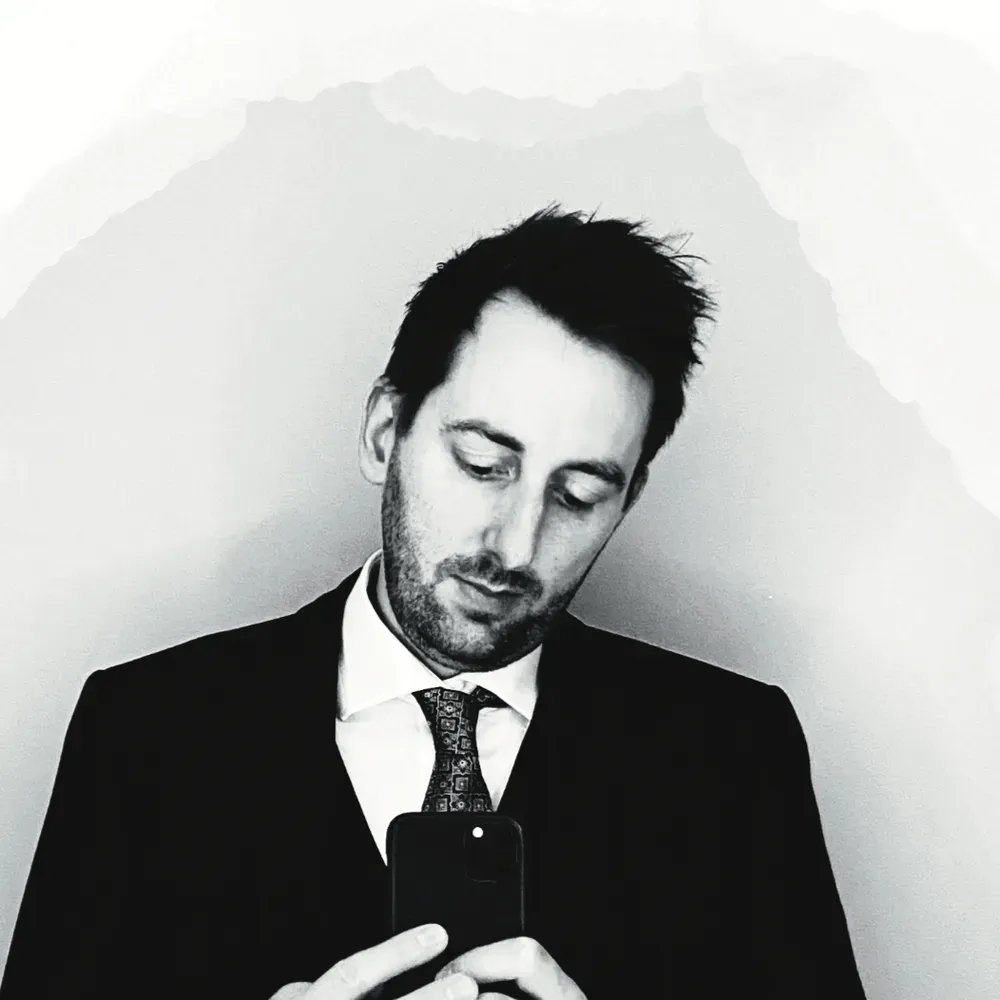
The original
Here's the untouched image which has an overly red hue from the street lights.
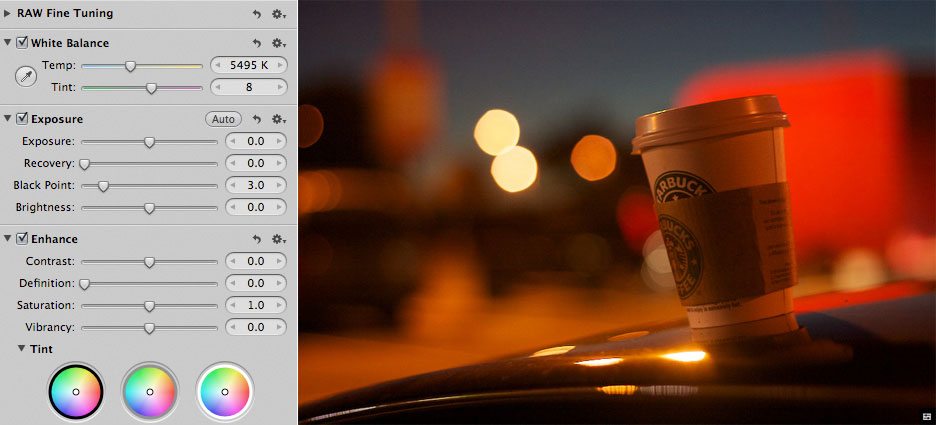
Cool down the image
The image needed to be cooled down so I started by using the Temp and Tint sliders to shave off some of the red hue.
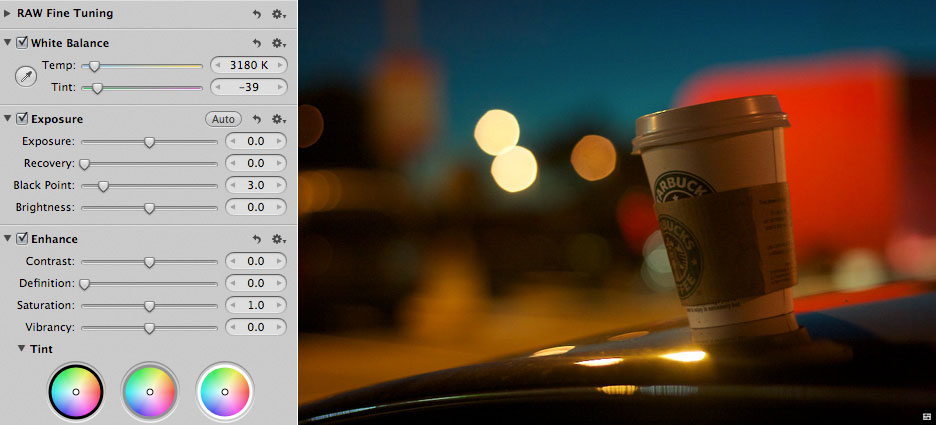
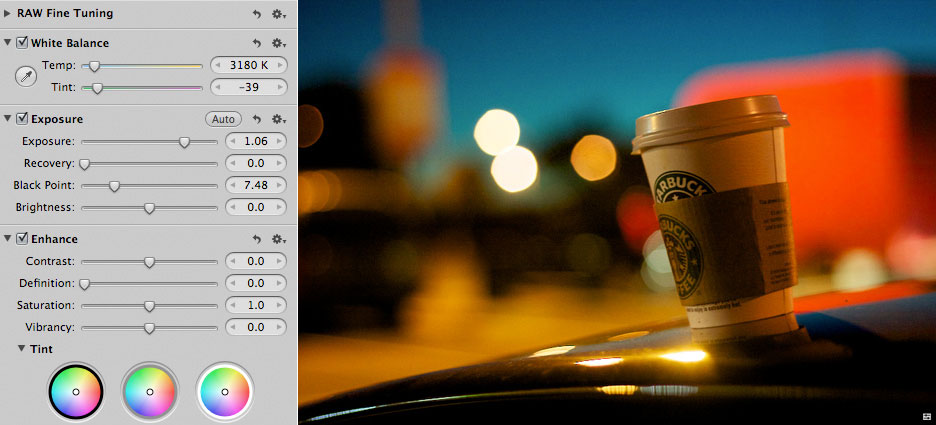
Increase the exposure
Now the colours are looking a bit more true to life, I wanted to increase the exposure slightly. This may look like too much but later on you'll see how to pull back some of the sections you want to keep darker than the subject.
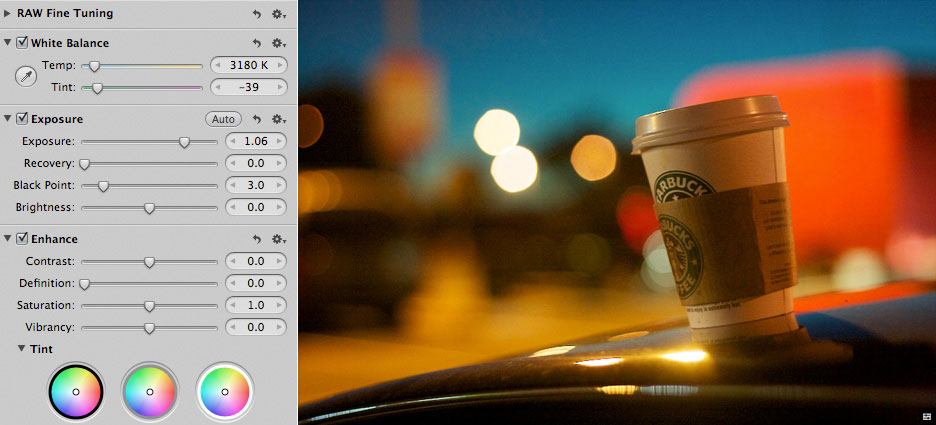
Bring back the black
You'll see some of the darker sections of the shot look rather pale now so I'll use the Black Point slider to pull back some of the darker tones. In this particular shot, I think it helps separate the subject from it's surroundings.
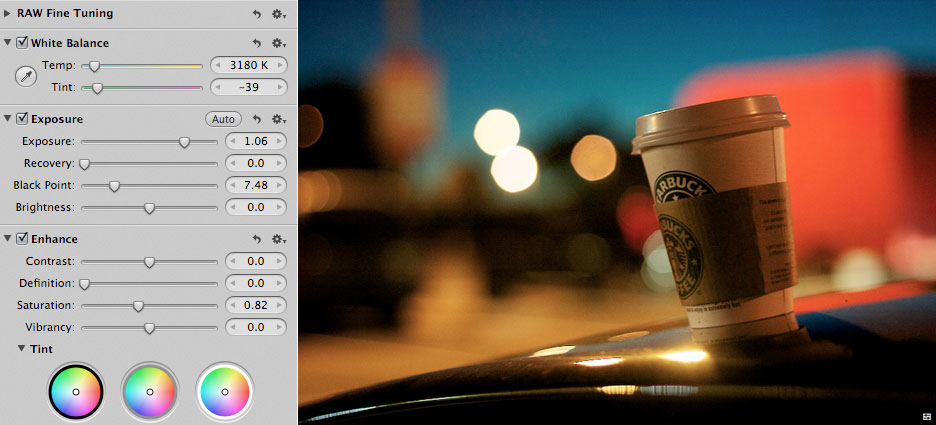
Desaturate (only slightly)
I felt the colours in the background we still a little too overbearing so I reduced the saturation slightly. It is also the basis for achieving the final effect I wanted with this shot, a sort of slightly aged photo.
Blue out the black
Now I concentrated on getting the finished look I wanted. First I wanted to make the darker tones less harsh so I used the Tint colour selector to add a hint of blue to the shadows.
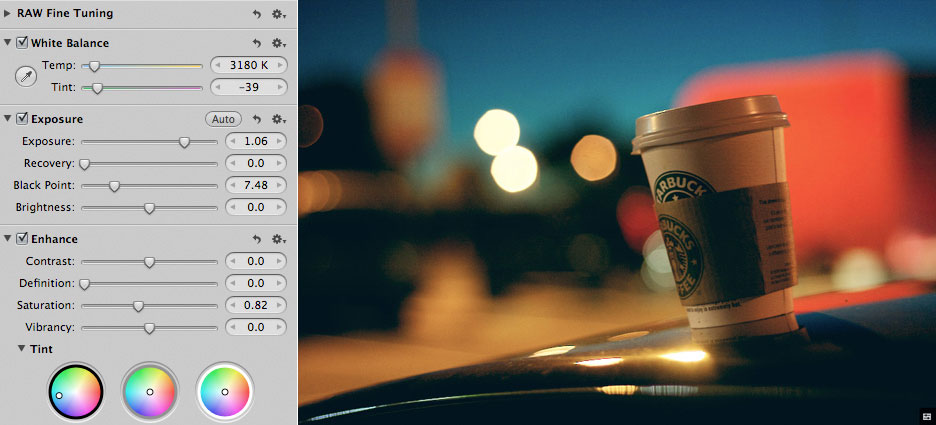
A dash of greenery
Next I added gave the grey tones a slight green hue to carry on the aged result I was after.

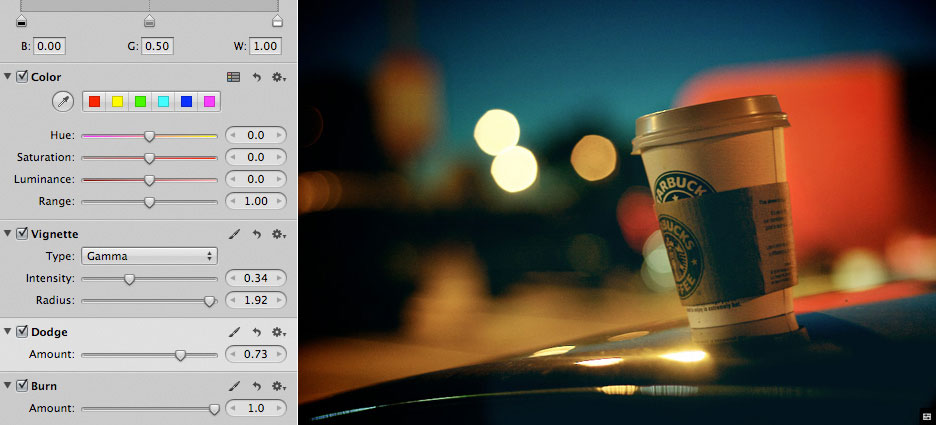
Add a vignette
I felt adding a subtle vignette would help frame the shot. I also thought it added a little more dynamic colouring to the sky.

Lighten the subject
The penultimate step in this process, I felt the work done so far didn't really draw enough attention to the subject so I used the Dodge tool to lighten the cup slightly.
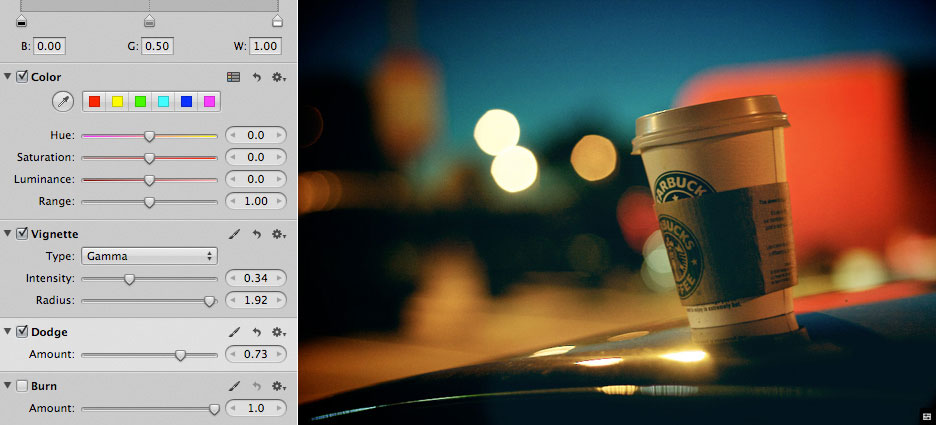
Burn baby burn
To finish off the shot I went over the background with the burn tool just to drop the overall brightness of the background.
That's it! Some of you may think this is tosh but hopefully not everyone. I'd love to hear what you think.