My process

I’m nearing the end of a project for Bottleneck Gallery to produce 50 illustrations for their customers. I’ve been posting photos and time-lapse videos to Instagram and Facebook along the way but these are always just snapshots of the overall process so I thought it might be interesting or perhaps even useful for others to read about my process.
Idea and research
The start of the process is fairly typical of private commissions (for me at least), the customer asks me to draw a character or scene from a film, tv series or, in some cases, music. I stick all the requests in a big list and load up Google.
I do a bunch of image searches for a character, looking for interesting or iconic poses as well as details I can pick out such as clothing or accessories.
Once I’ve collected the images together I have a think about how I’d like the final piece to look and then get on with sketching…
Rough sketches
When time allows, I might spend a bit of time working in my sketchbook trying to figure out composition or poses but sometimes I just have to crack on with what’s in my head and iron out the kinks along the way.
I pencil the rough composition onto cheap copy paper using cheap mechanical pencils. There are a few reasons I use cheap paper:
- I can pencil, rub out (or erase) as many times as I need without worrying about ruining the paper. If the paper does get too wrecked, it’s easily replaced and I’ve not wasted any of the more expensive watercolour paper.
- Sometimes I’m crap at placing a subject where I want them in the final piece. Placing the rough sketch on a lightbox with the watercolour paper laid over it, I can move the watercolour paper around until the correct position is found.
- Occasionally, during the inking phase, I’ll mess up and need to start again. If I were penciling directly onto watercolour paper, I’d have to re-draw the rough again before inking. Having a separate sheet for rough means I can just grab a new sheet of watercolour paper and get straight back to inking a new one.
Once I’m happy with the pencil rough, I’ll typically send this to the customer for feedback, allowing them to make changes before I move to the final piece. In the case of my project with the gallery, I’ve just had to go with my gut and run with it. There were many to complete and there wasn’t enough time to allow each one to have a round of feedback.
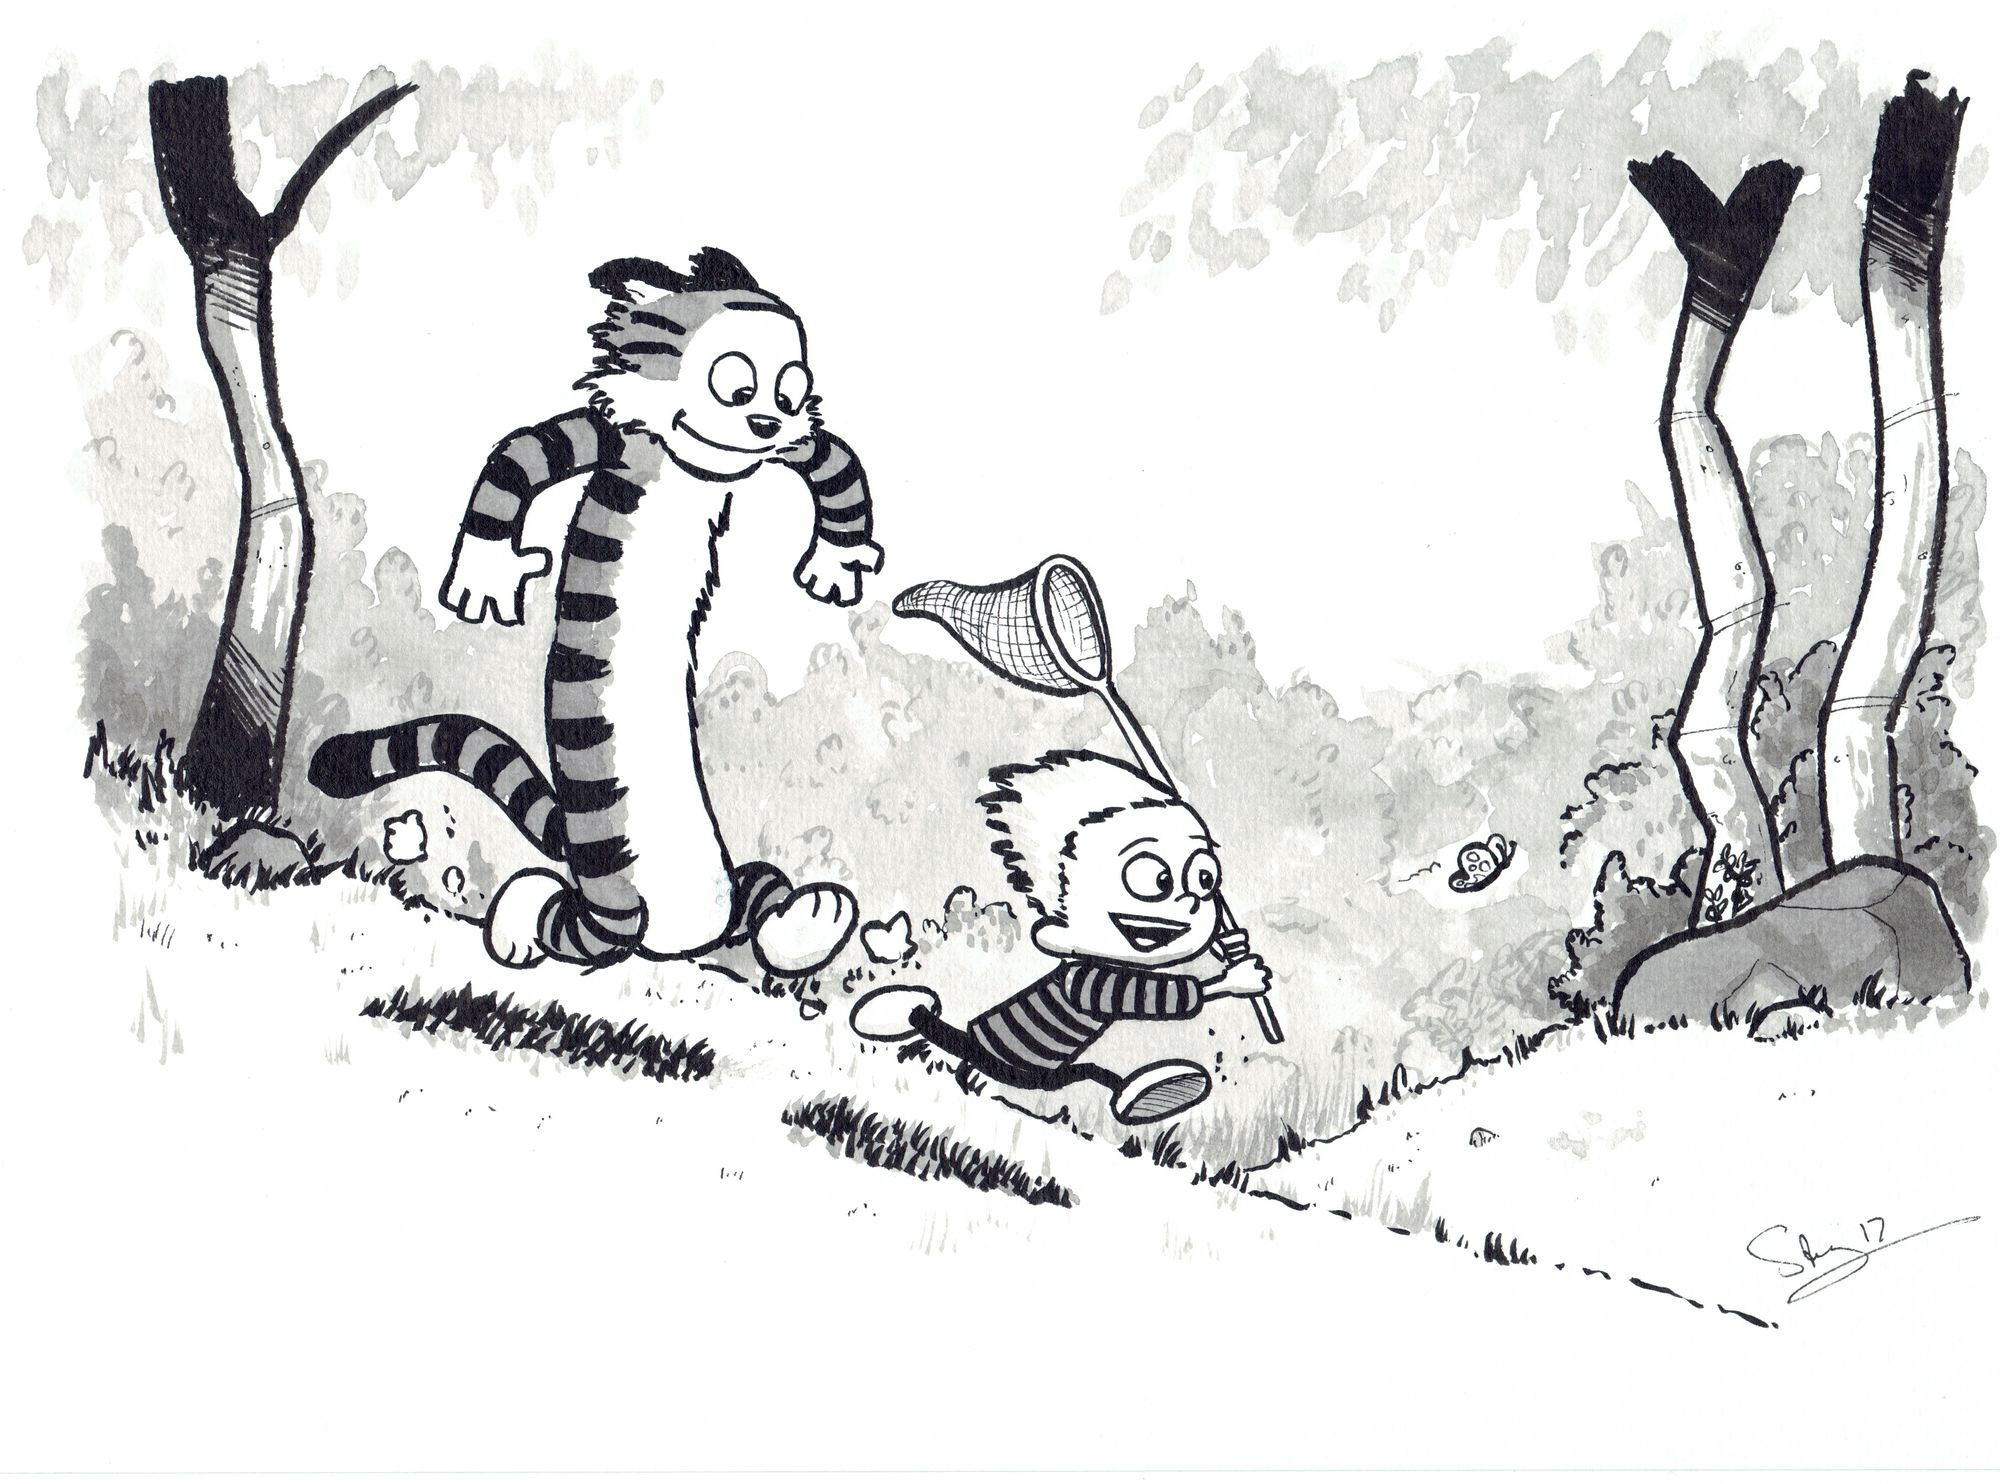
Inking
From this point on, it’s the part of the process I enjoy most as it’s where I start to see the final drawing come to life.
For outlines, I use a Pentel Brushpen and a UniPin 0.2 fine liner for smaller bits of detail. Final pieces are drawn on 350gsm watercolour paper. The brand I use currently is Seawhite of Brighton, the main reason is because the local art shop stocks it so it’s easy to get hold of.
When I was younger, I hated inking. I used to feel like I was just drawing things twice. Looking back, I think the reason is I constrained myself too much, didn’t allow to stray from the pencil lines.
These days my approach has loosened a lot. I think this is partly due to my switch from standard pens to the brushpen for inking outlines. I still have control like any pen but it’s so easy to create varied lines and doesn’t feel so rigid in my hand while I draw, it’s helped my movements while drawing feel less rigid too. Does that make sense? I dunno…
Another part of my looser approach is using the lightbox. I have an A4 MiniSun LightPad which is great for portability and gives a bloody good blast of light too. When I’ve got my rough drawing overlaid by my watercolour paper, the pencil line of the rough is visible, but it’s not as clear as though looking at the rough itself. The lines are a harder to make out, they’re more of a suggestion of where I need to go.
So while I’m inking, the rough becomes more of a framework or guide and allows me to feel less constrained (the sore point of my younger self). As I feel less constrained, it allows me to react to the process as it happens which is why I enjoy the process much more now. Also, as I have the rough as a framework, I don’t feel I’m working my brain as hard so it’s a but more fun and relaxing. I can listen to music or podcasts or have a film on in the background. Much more fun!
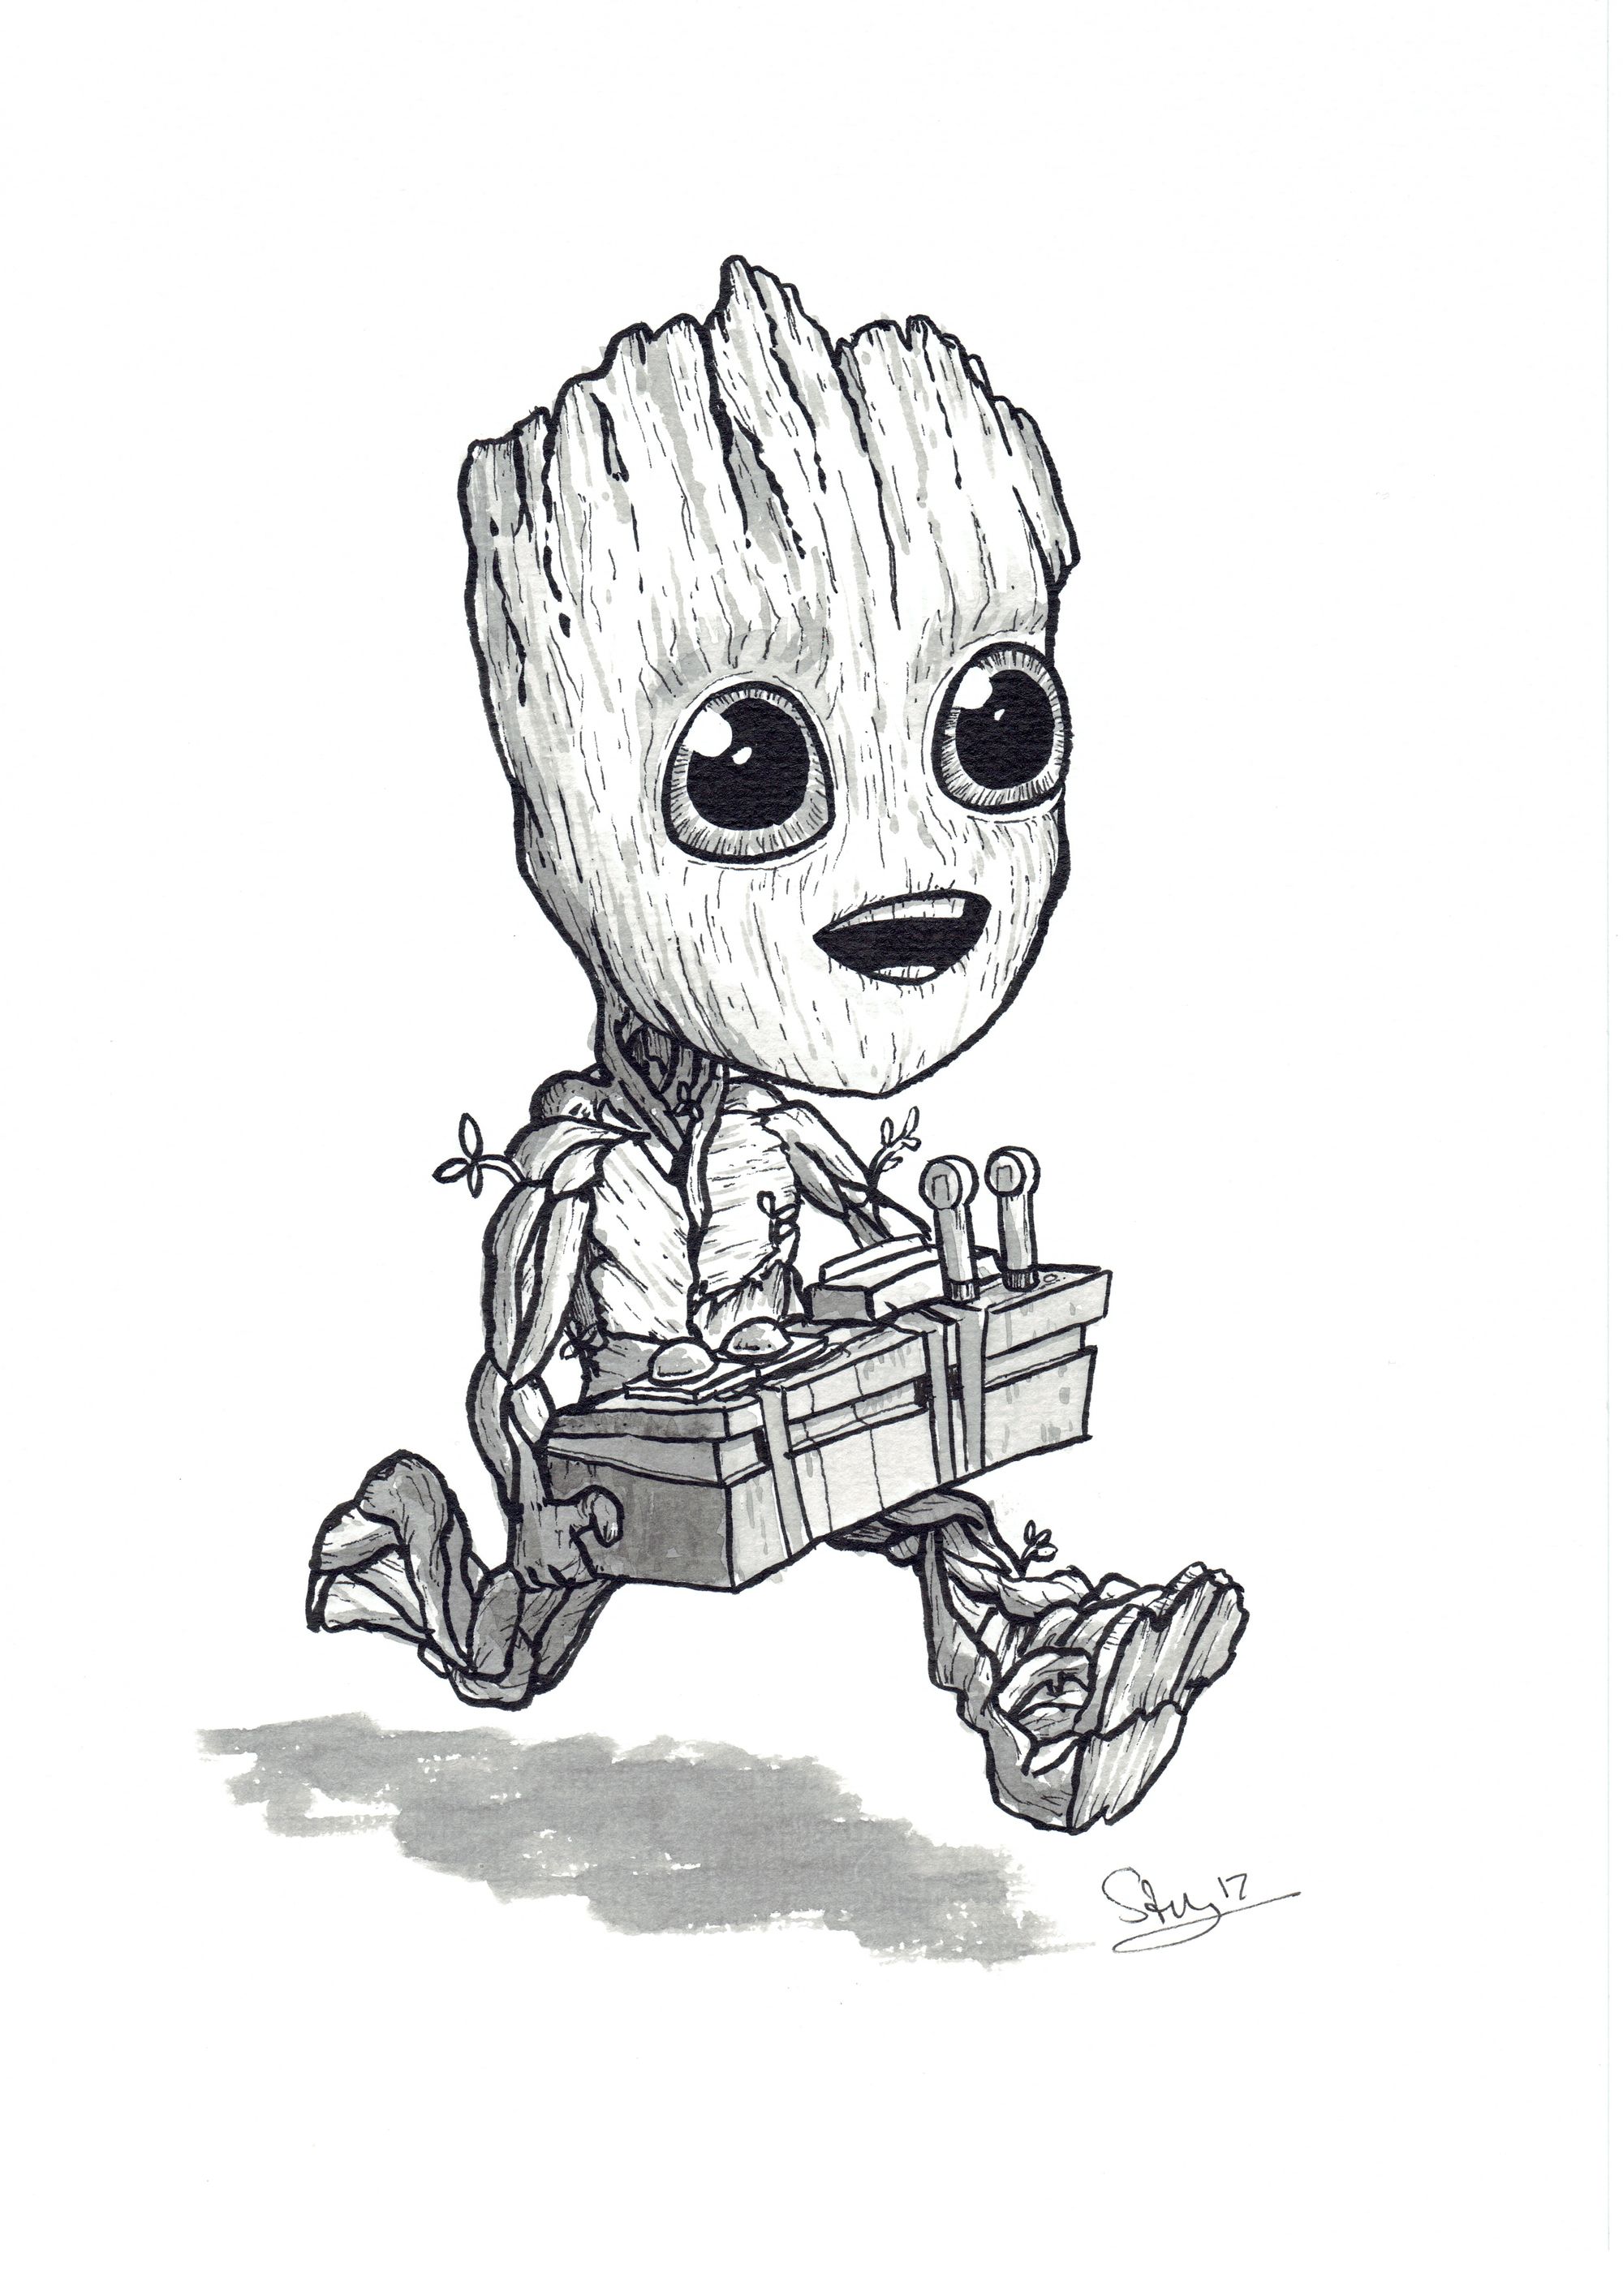
Toning
Once the outlines are finished, I move on to tone. I use Pentel Aquash brushpens filled with my own mixes of inky water. One mix is a pale grey, the other is a darker grey.
Anyone who’s watched me livestream this stage, they’ll know I work quite fast and loose at this stage. I often start with a base layer of tone and from there build up layers of wash to create form and a sense of depth.
As I work fast, occasionally I’ll creep outside the lines but that just adds to the spontaneity and makes the piece unique.
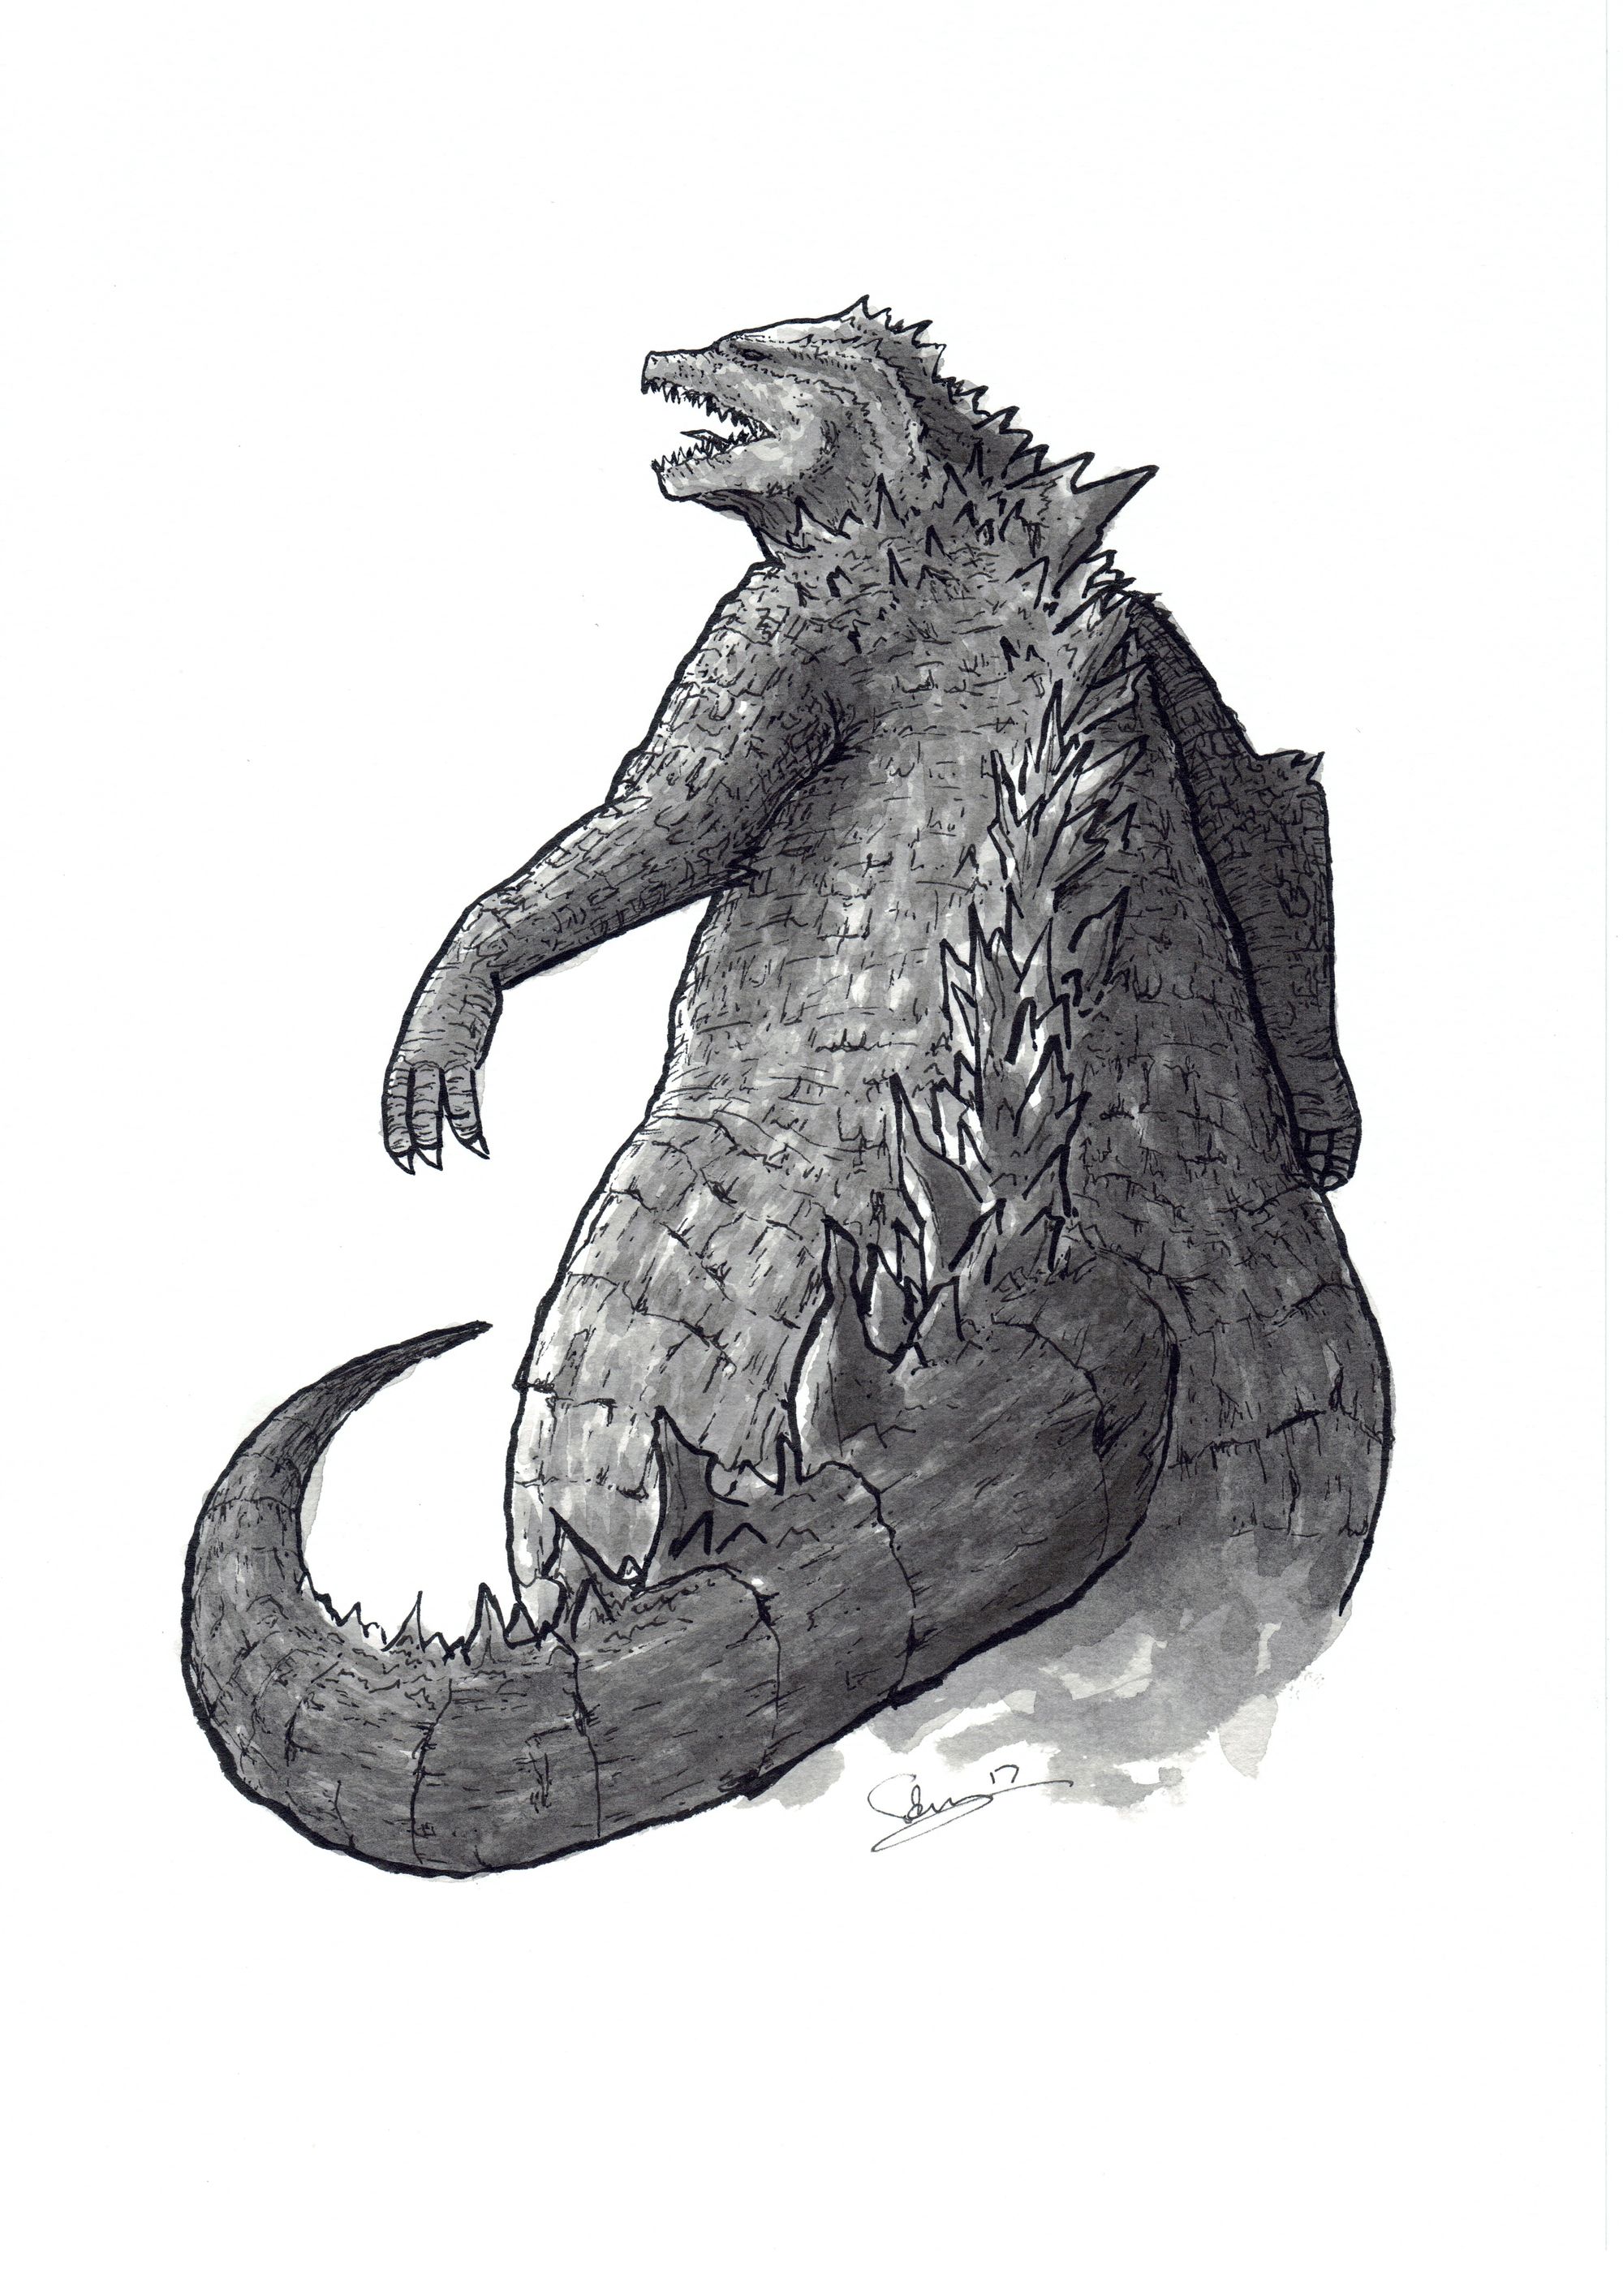
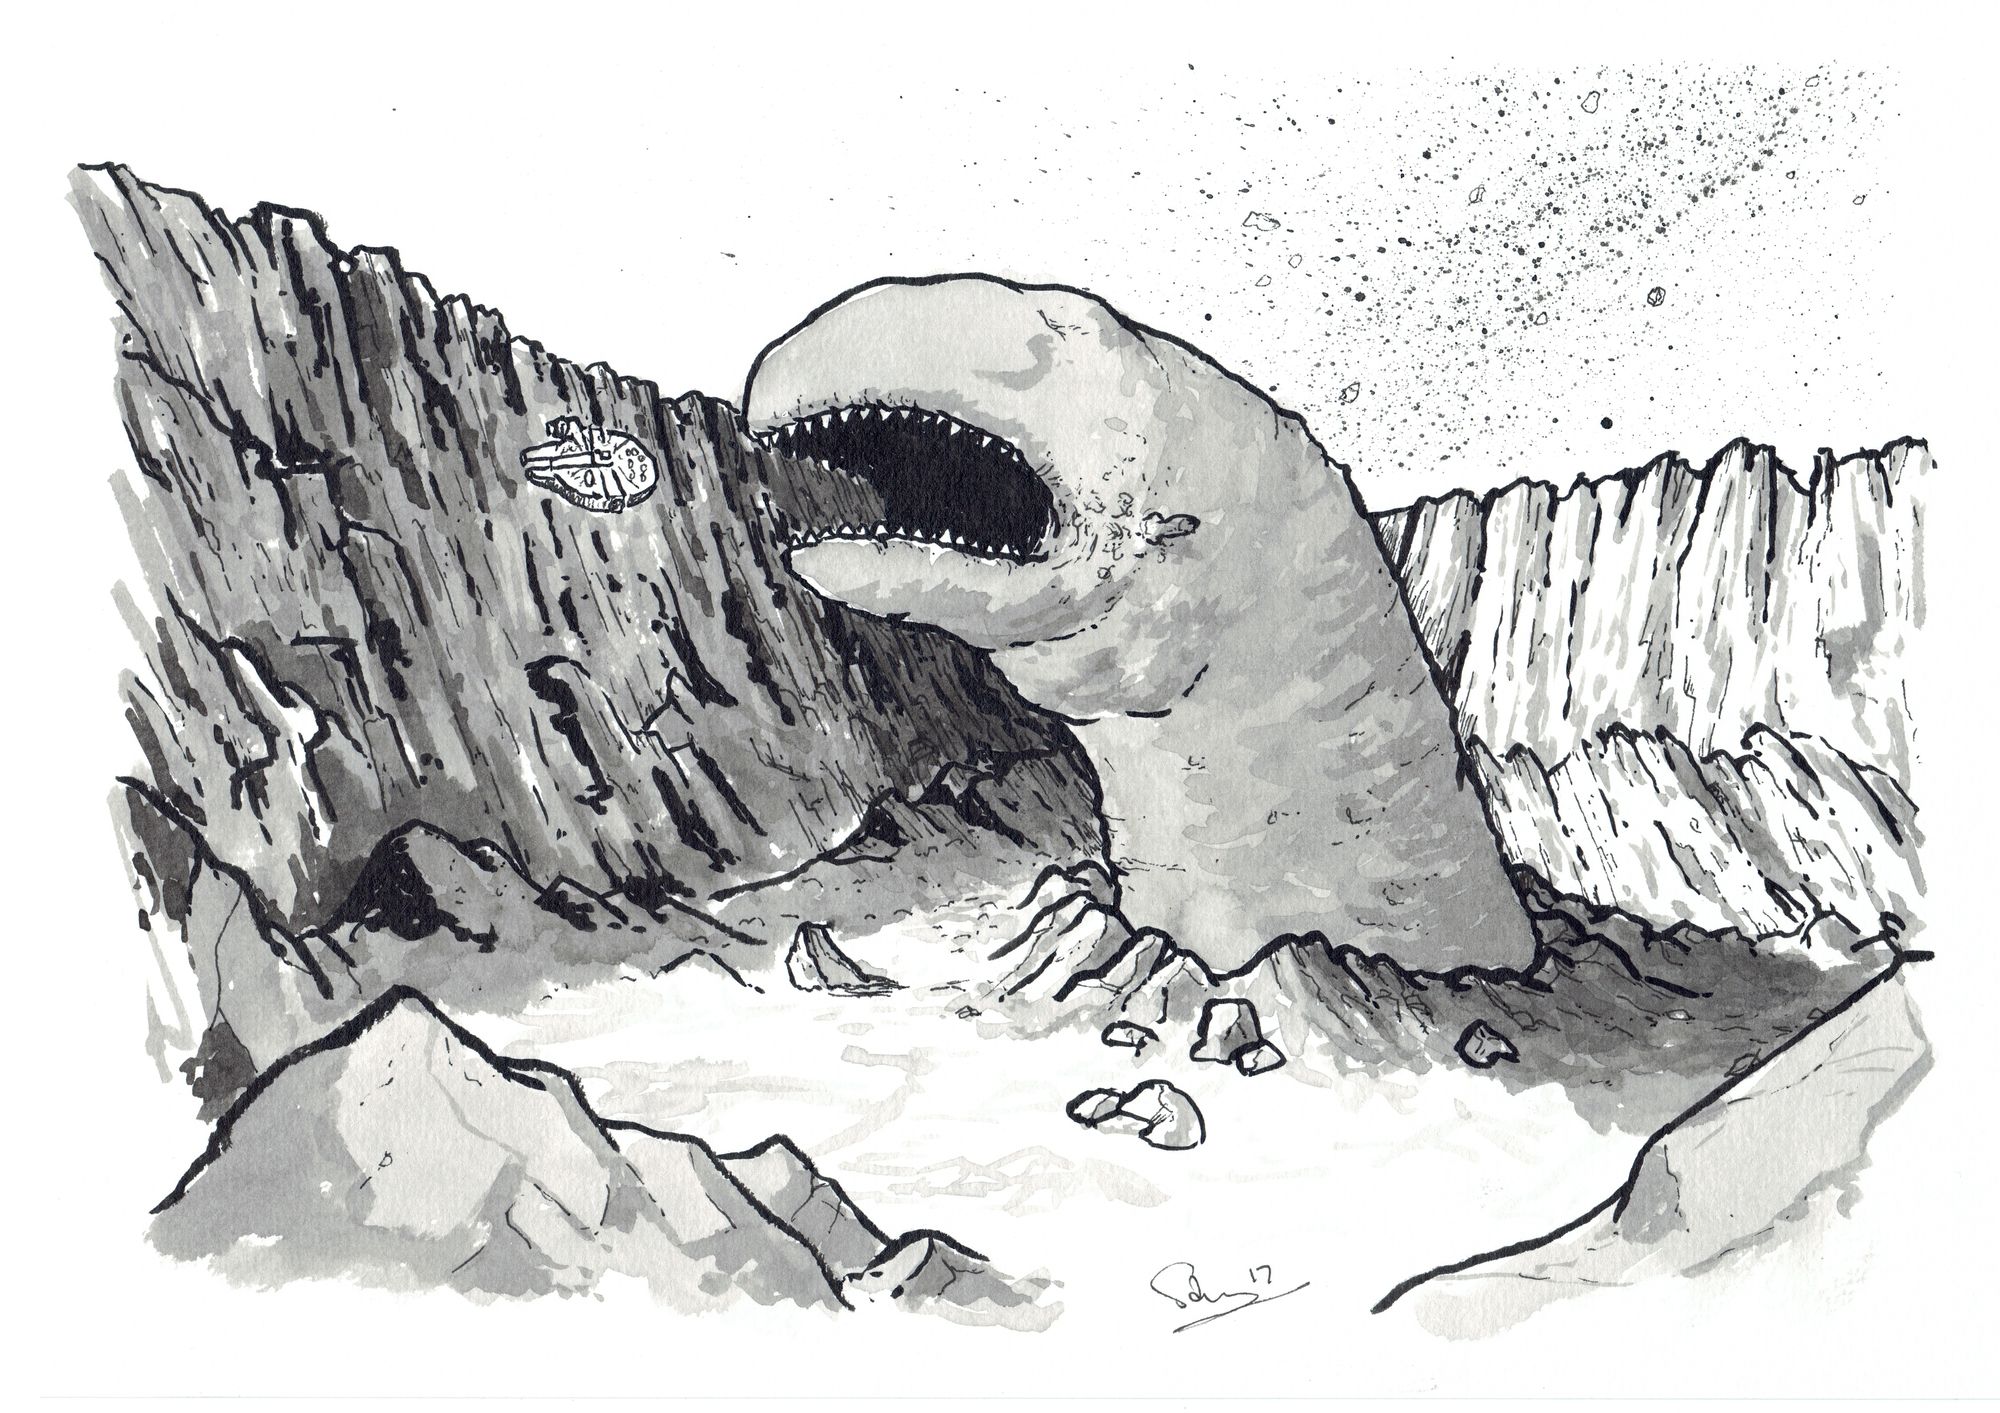
That’s it really. Once the drawings are done, I put each one in a plastic wallet to keep it free from dirt and stuff but that’s it. Here’s a space slug…
Originally posted on Medium